Warlord's Ruin Dungeon Guide
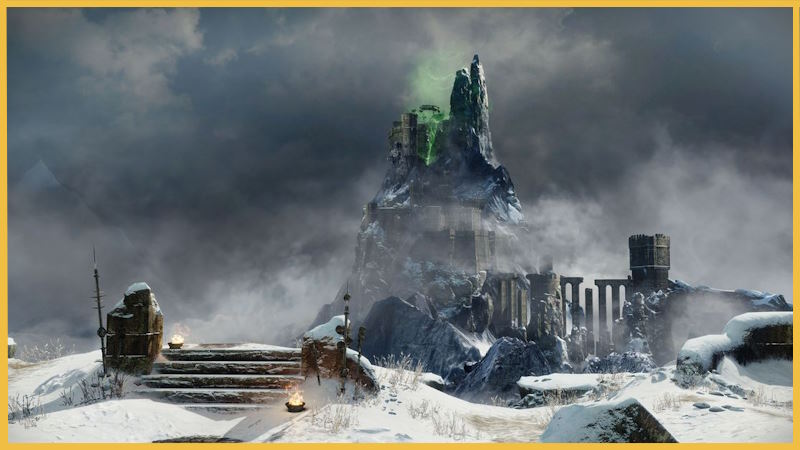
Warlord’s Ruin is a new Dungeon added in the Season of the Wish for Destiny 2. It is scheduled to be the final dungeon in the Lightfall expansion, which means that you wouldn’t want to miss out on all the action. In this guide, we will explore all aspects of this dungeon, including boss strategies, loot, and even secrets you can find there.
How to Unlock Warlord’s Ruin in Destiny 2
Before you can even begin conquering this dungeon, you will need to have a Guardian with a power level of at least 1790 for the Normal difficulty. If you want to go higher though, be ready to improve your power level all the way up to 1840 for the Master difficulty.
After the power requirements are met, you still need to obtain access to the dungeon itself. Unfortunately, even though this dungeon was introduced in the Season of the Wish, the season pass for it does not grant you access to Warlord’s Ruin. Instead, you should either buy the Deluxe Edition of the Lightfall expansion or a Lightfall Dungeon Key for 2000 silver.
After you have acquired either of those and your power level is sufficient enough, you need to meet with Ikora Ray in the Tower and pick up the quest called “In the Shadow of the Mountain”. With all that done you can simply start the dungeon by clicking on the dungeon node.
Warlord’s Ruin Loot
If you decide to run Warlord’s Ruin, it is likely that you are very interested in the loot that drops there. Warlord’s Ruin has some of the best gear in the entire game no matter which class you’re playing as, and here we will explore all the loot drops that you can obtain by running this new dungeon.
Weapons

There are a bunch of new weapons that you can farm from each of the three main bosses that this dungeon challenges you with. Here is a list of all the weapons assigned to the boss they drop from.
|
Rathil, Broken Knight Chieftain |
Locus of Wailing Grief |
Hefn’s Vengeance |
|
Vengeful Whisper Combat Bow | Kinetic |
Vengeful Whisper Combat Bow | Kinetic |
Dragoncult Sickle Sword | Strand |
|
Dragoncult Sickle Sword | Strand |
Naeem’s Lance Sniper Rifle | Strand |
Naeem’s Lance Sniper Rifle | Strand |
|
Buried Bloodline Sidearm | Void |
Armor
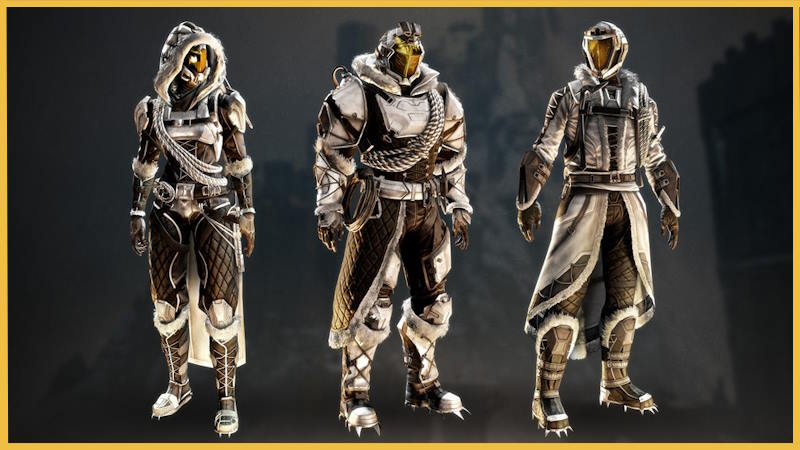
There are three new armor sets for each class, which can also be obtained from the bosses, just like the weapons. Here are the exact item sets.
|
Gear Slot |
Titan |
Hunter |
Warlock |
|
Helm |
|||
|
Arms |
|||
|
Chest |
|||
|
Legs |
|||
|
Class Item |
If you are wondering what type of armor you can get from each boss, look no further as we have prepared a list of gear drops from each boss as well.
- Rathil: Broken Knight Chieftain – Helmet, Arms, Legs.
- Locus of Wailing Grief – Arms, Chest, Class Item.
- Hefn’s Vengeance – Helmet, Arms, Chest, Legs, Class Item.

Warlord’s Ruin Playthrough
After you know what rewards you can expect from this dungeon, it is time to jump right into the playthrough. Below you can find strategies for all boss encounters, as well as Warlord’s Ruin puzzle solutions and more. Woohoo! You've also found a special promo-code. Use BLOG7 to get 7% OFF on your first boosting service!
Climbing the Mountain
The dungeon will start off with a platforming section where you and your team have to scale the mountain. Just follow red flags to not miss the main path and you should be able to finish this short puzzle section in no time.
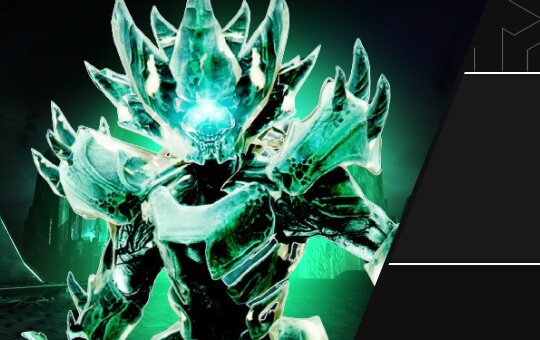
First Boss: Rathil, Broken Knight Chieftain
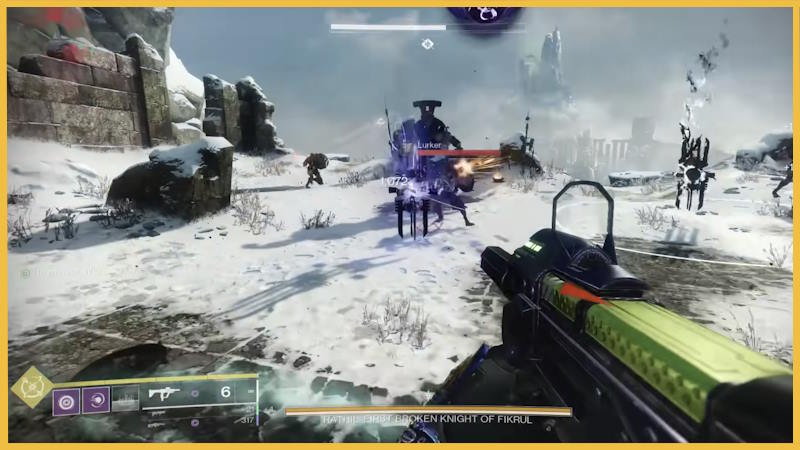
Your main objective in this fight is to break through the boss’ immunity stage to be able to deal damage. When you see the “Imminent Wish” text pop-up on the bottom left of the screen, it means that the boss had spawned Scorn devices that you have to stand in to cleanse them from blight.
The more of them you cleanse, the more time you will have to deal damage to the boss, so make sure to cleanse as many of them as you and your team possibly can. You can start dealing damage when the text stays “Rathil Hex Backfires”. After this, the boss will become immune again, and you will have to repeat the process.
Another mechanic that this boss has to offer is imprisoning you and your allies in rising cages. To free yourself or your teammate simply shoot down Taken Eyes around your (or preferably teammate’s) cage. Repeat this process until the boss is dead and enjoy your loot!
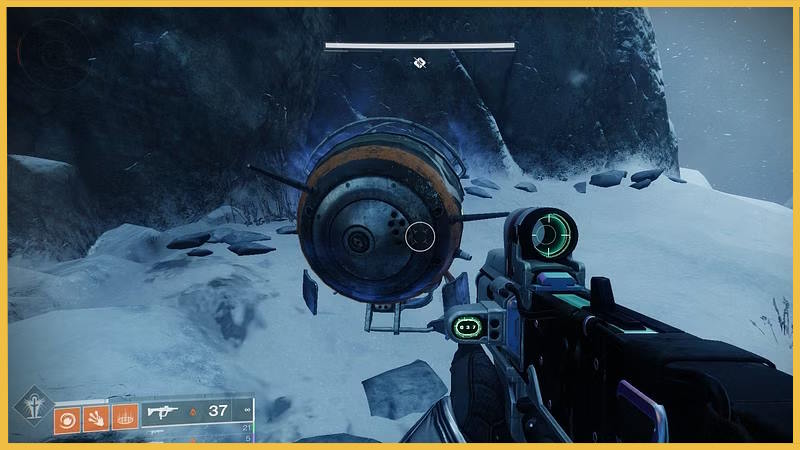
Prison Puzzle
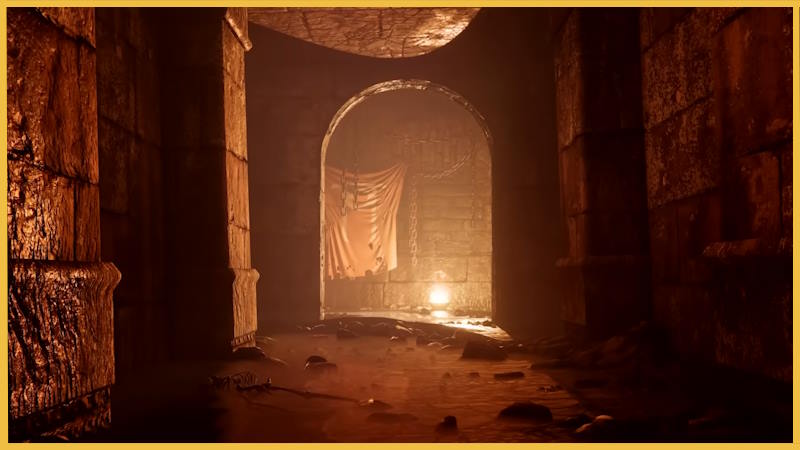
After defeating the first boss, your team will be teleported to the first puzzle in the dungeon. You will get separated from your team, as each one of you will be locked in a different prison cell. Each of the players will also be able to see two round-shaped devices. Shooting them will cause them to spin, shooting them again will cause them to stop, and shooting them yet again will cause them to spin in the opposite direction.
The solution to this puzzle is rather straightforward: Two players will find a skeleton pointing at the tablet with tally marks on it. The direction skeletons are pointing towards is the direction the mechanisms should be spinning in, and the number of tally marks indicates how many devices in total should be spinning in a given direction. After everything is set up properly and devices spin in the correct direction, one of the players will be able to shoot the key and open the prison cells.
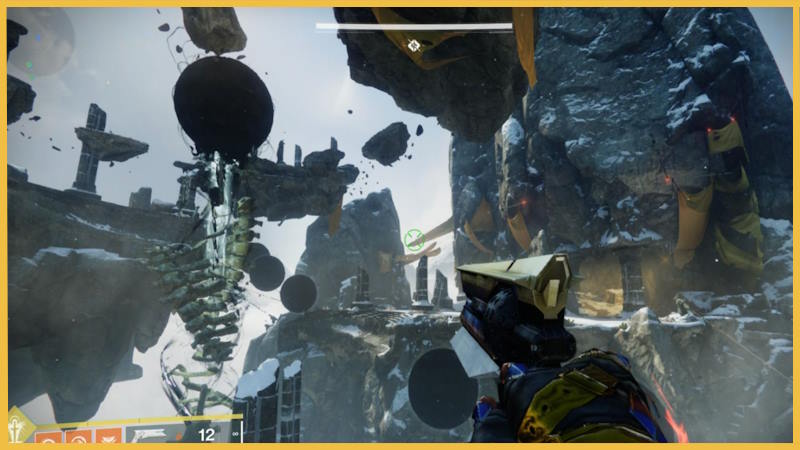
Solving Ruined Undercroft Maze
After you are free from your imprisonment, you will need to navigate a small maze-like structure. While the pathing isn’t difficult, it is filled with various traps that you need to avoid. One of the most deceiving traps is chests that glow blue. You should avoid those despite the temptation to get some loot.
Once you escape the maze, you will have to climb up towards a massive bridge. You can fight the enemies here or skip them, but regardless of your choice, you will need to jump along the cliff to the right in order to continue with the dungeon. After you do that, look for a round opening in the cliff to get back inside the fortress.
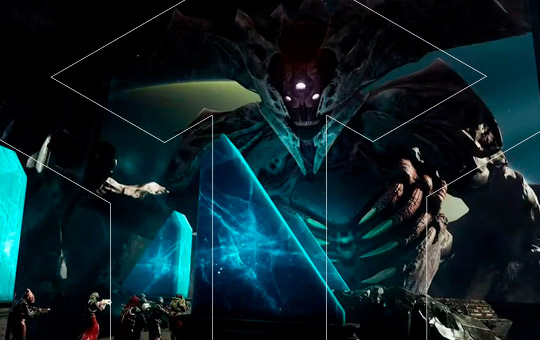
Second Boss: Locus of Wailing Grief
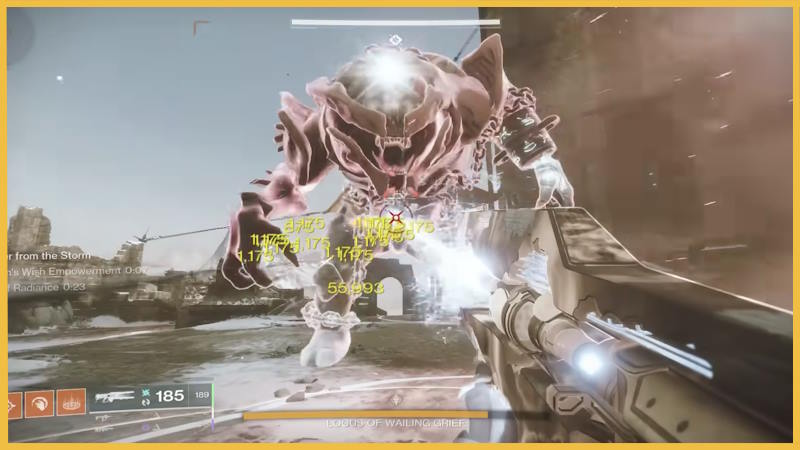
Another boss that is invulnerable until you complete some of the requirements. This time around, the requirement to deal damage to him is to light up four brazier pillars. Take out the enemies until Taken Eyes spawn, then take them out too for two Scorn minibosses to spawn. They will drop the devices that you need to cleanse, just like in the fight before.
The catch is, once these minibosses are defeated your team will be affected with Biting Cold debuff. And when this debuff reaches 10 stacks – it’s a wipe. To remove the cold you and your team will need to run to the lit torches located on the back wall near the beginning of the fight.
After cleansing the devices, Solar Orbs will spawn. Take orbs to braziers to light them up. Once all four braziers are lit up, you will be able to deal damage to the boss. Repeat this until the boss is dead and enjoy your loot!
Second Climb
Follow the hallways after the second boss to emerge back on the mountain. Jump up the platforms until you reach the final boss of this dungeon, there is no trick or special tactic for this portion of the dungeon, although it can be rather time-consuming.
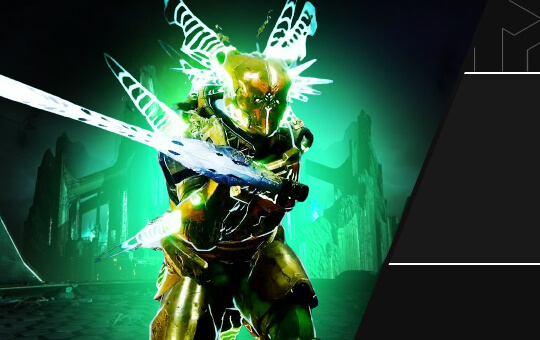
Final Boss: Hefnd’s Vengeance, Blighted Chimera
The final boss of this dungeon is essentially a knowledge and skill check of previous encounters with a couple of new mechanics mixed in, so it shouldn’t be a problem to take it down if you have successfully done two previous boss encounters in Warlord’s Ruin.
Yet again, the fight will begin with the boss being immune to damage. Just like in the second fight, defeat waves of enemies until Taken Eyes spawn. Take them down as well to summon two mini-bosses, after defeating which devices will spawn. That’s right, they also need cleansing.
The twist this time around is that you and your team are affected by a new debuff – Hex of Vengeful Corruption. When this debuff reaches zero it will wipe your team. In order to remove this debuff, you will need to melee a special enemy – Corrupted Hex-Drinker. Don’t try to kill this enemy as it is immune to all the damage, but hitting him in melee will transfer the debuff to him which is exactly what we want.
Just like the first time around, when the Imminent Wish timer reaches zero, the DPS phase will begin. The more devices you have activated, the more time you will have to damage the boss. After the first DPS phase, you will need to climb to the next platform and repeat the aforementioned process to kill the boss. Congratulations, you’ve cleared the Warlord’s Ruin!

Warlord’s Ruin Hidden Chest Locations
As usual, there are several hidden chests hidden all throughout the dungeon. In this portion of the guide, we will navigate you to them, so you can maximize your efficiency during Warlord’s Ruin runs.
First Chest: While doing the first jumping puzzle, instead of jumping across the first gap, take to your left to find the chest.
Second Chest: After the first boss and the prison puzzle, navigate the maze until you find a staircase that leads downstairs. Go down and then right, pass through a bunch of rubble, and jump over a gap – the chest is yours.
Third Chest: After you collect the second chest, continue with the maze until you reach a room with cylinders on the floor. Before entering said room, look around to find another room on your right. The chest is there near the wall.
Fourth Chest: When you exit the maze and start fighting enemies on the bridge, you will see a tower with even more enemies coming out of it. Defeat the enemies and go inside the tower to find the chest.
Fifth Chest: When you defeat the second boss, simply go forward until you find a bunch of chests. Simply open the one that doesn’t have a blue aura around it.
Sixth Chest: When you are scaling the mountain yet again in another jumping puzzle, instead of entering the cave leading to the Blight room, go straight until you see a door on your left. Enter to find the chest there.
Seventh Chest: After leaving the big Blight room, you'll find a medium-sized Blight in the air. Go to the bottom-left from where you came in, jump to the doorway, and then go straight. Look to your left to find the chest.
Congratulations, you’ve found all the secret chests in Warlord’s Ruin! If you are interested in rewards from this dungeon but don’t have enough time or motivation to grind it yourself, we offer a bunch of services related to this dungeon that might ease your D2 experience. You can check them out right here.


Starts at
$8

Starts at
$37

Starts at
$18

Starts at
$15$20

$4
Starts at
$38$62
Starts at
$11
Starts at
$9

Starts at
$72
Starts at
$13.5

Starts at
$30

Starts at
$12

Starts at
$9.6

Starts at
$14
Starts at
$18
Core Principles
Why Choose Us?
We are constantly improving our services to deliver mind-blowing experiences to our customers for every order, every day
Rated 5 Stars
On REVIEWS.io
Check out our reviews on REVIEWS.io, an independent reviews platform. All reviews are genuine and published in real time.
Read customer reviews
We will contact you and start working on your order within 7 minutes

Every manager, even the owner, has successfully personally completed over 300 orders

P.S. We'd better miss a $10,000 sale, than risk your account