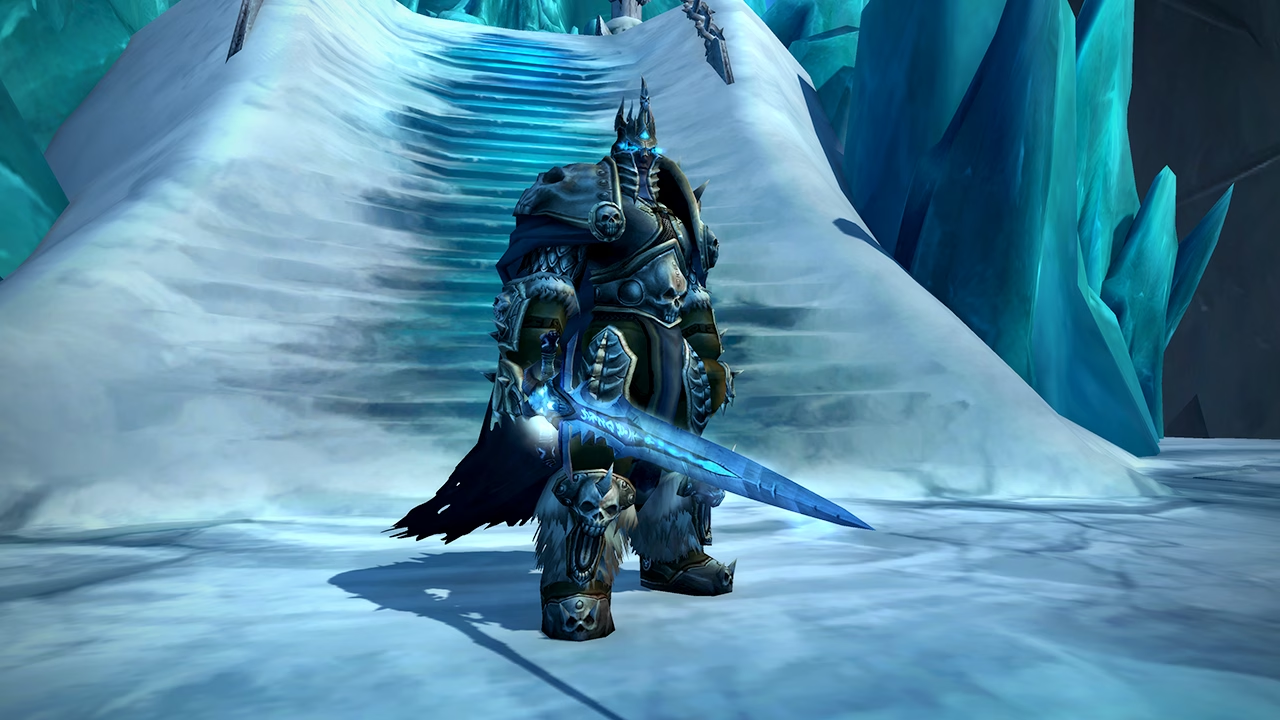
WotLK Icecrown Citadel Raid Guide
The fabulous Icecrown Citadel reopens its doors to heroes of Azeroth on October 12, 2023 - now as part of the World of Warcraft: Wrath of the Lich King Classic expansion. Dreadful undead, incredibly powerful bosses, and impressively beautiful citadel corridors await the brave souls once again, ready to confront the dangers that lurk within. In this guide, you'll learn basic information about the raid, learn how to get to the raid, solidify your tactics, and find out what loot you can get after striking down twelve Icecrown Citadel bosses, including Arthas Menethil himself!
Raid Lore
ICC has colossal proportions and is constructed around an ice spire that extends straight up into the sky. According to the previous events, once it was the prison of the former Lich King, the necromancer orc Ner'Zul. It once stood alone in the middle of the frozen wastes and it was here, where the righteous paladin Arthas Menethil ended his journey. Arthas broke the Lich King's shackles and wore the Helmet of Domination. Now. They. Are one.
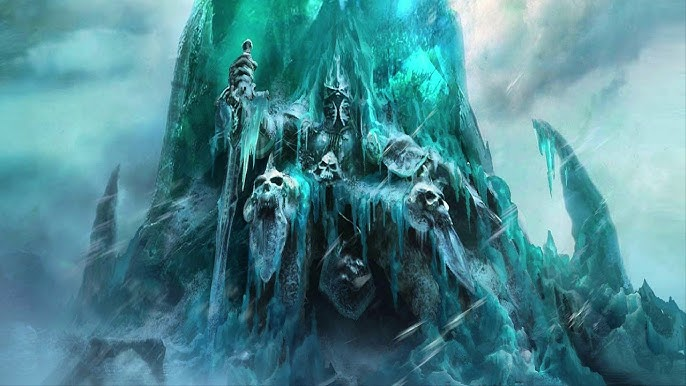
6 years later, by the time of the events of Lich King expansion, a huge citadel of Saronite (the blood of the ancient god Yogg-Saron) has been built around the spire.
Now, after defeating the Lich King's main ally, saving the world from the threat of the ancient god, and qualifying for the Trial of the Crusader, the heroes, led by Tirion Fordring, are ready to challenge the Lich King, the lord of the Scourge himself.
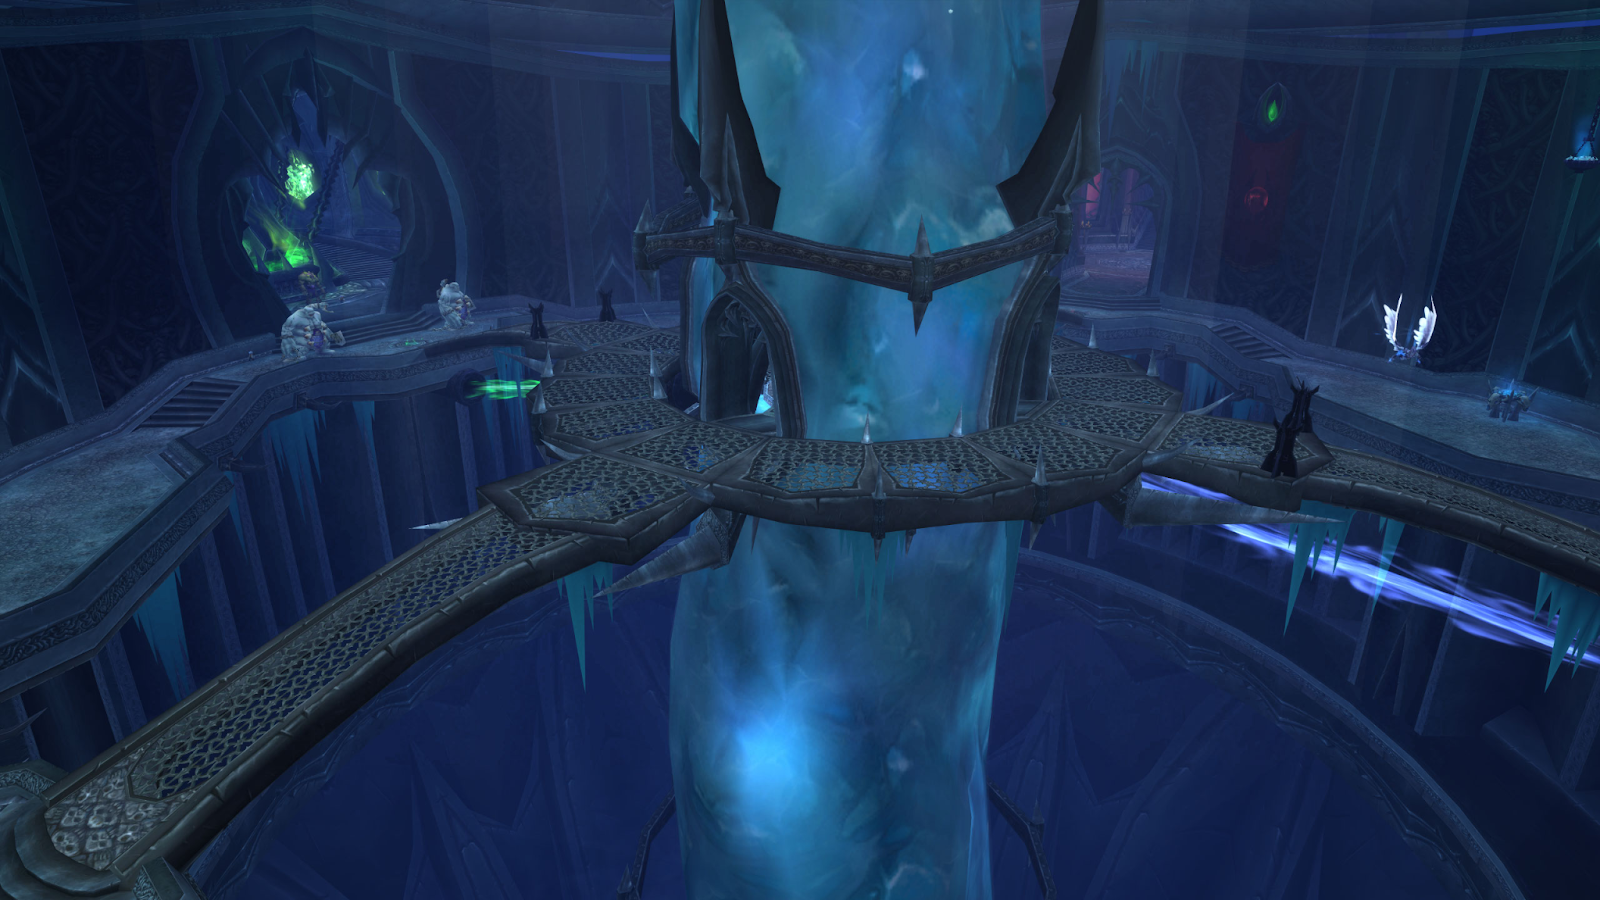
Entering the raid
During the cinematic announcement, you must have seen that the knights of the Argent Dawn broke down the main entrance gate with a battering ram. That's right, you can access the raid through the made passage. By the way, to the right of the main entrance you can also find the entrance to a number of new dungeons added along with the raid.
The only thing you should be wary of is huge mob clusters in front of the raid entrance. Having a fly mount you can level up this threat. Also, keep in mind that if you fly with the PVP flag turned on, you may be caught by other players at the entrance.

What you'll need before the raid
It is important to know that players will need to prepare thoroughly, learn tactics and equip well before entering. Usually, you can pass all the difficulties with comfort, if you have geared up in Trial of the Grand Crusader on H-25 earlier. But you can try doing this raid with the equipment collected in N-10 mode, although it will be a bit hard. Otherwise, you can always pick up the basic equipment in three new dungeons, although it would be better, of course, that your raid was equipped a bit better.
A friendly reminder: if you run into some difficulties with raid completion or have trouble accomplishing the achievements, we are always here to help you. Woohoo! You've also found a special promo-code. Use BLOG7 to get 7% OFF on your first boosting service!

10 or 25 people. What's the difference?
Firstly, all loot that you can obtain in this raid varies iLvl. Additionally, it's worth noting that the ICC is accessible in both normal and heroic modes, facilitating a hero progression as they gradually transition from Normal-10 to Heroic-25, and acquiring better equipment in the process.
Bosses and what to expect
The ICC raid consists of 12 bosses, each of which is mandatory to pass. After reaching the middle level, you can choose the order of the 7 remaining bosses before facing the Lich King at the top of the spire.
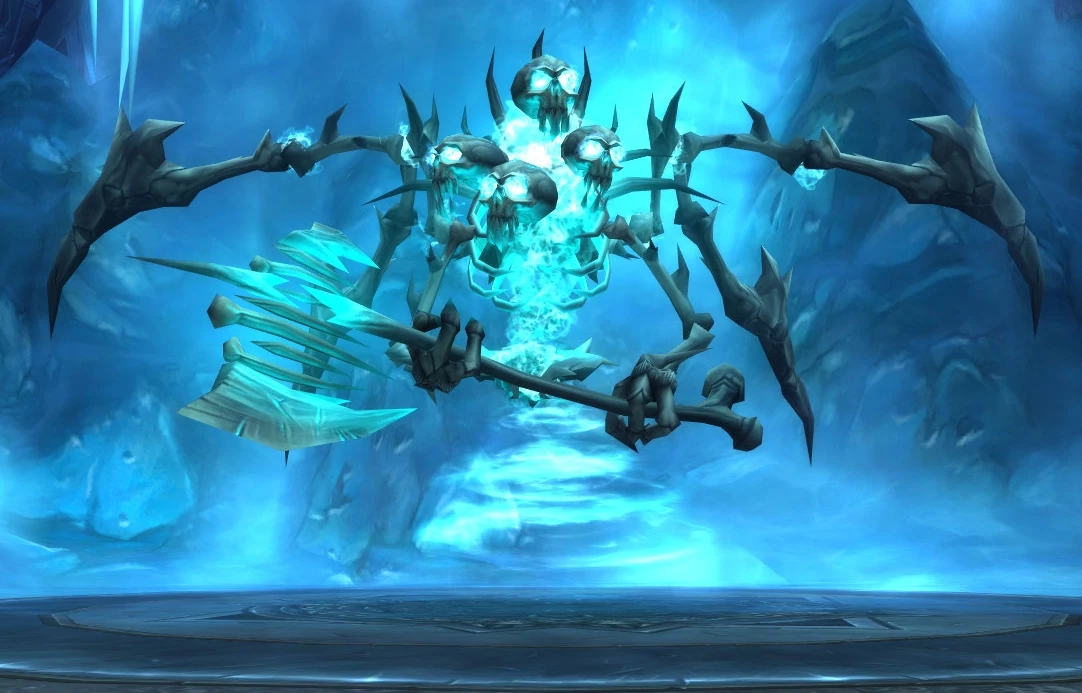
Lord Marrowgar
HP: 31,376,250
The Strategy
The encounter with Lord Marrowgar consists of two phases that repeat throughout the battle.
Phase 1: Initial Positioning
- At the start of the fight, all tanks need to gather on the boss. They have to share the damage from Bone Slice to prevent the main tank from taking too much damage and dying.
- Tanks should stay close to each other to reduce the impact of Bone Slice.
- The entire raid should be positioned in melee range to avoid Coldflame. However, Hunters should stand slightly behind the raid. They need a clear shot at the boss and must consistently avoid Coldflame.
Phase 2: Handling Bone Spike Graveyard
- Periodically, Lord Marrowgar will use Bone Spike Graveyard to impale three targets. Melee damage dealers should focus on destroying these bone spikes.
- Use area-of-effect abilities like Cleave, Swipe, Fan of Knives, and other applicable AoE effects to take down Bone Spike Graveyard.
- If one of your Hunters or ranged casters gets impaled, ranged damage dealers should eliminate it. It doesn't make sense for melee fighters to disengage from the boss.
- Be prepared for Bone Storm; start spreading out within the room as it begins. Some players might be targeted by Bone Spike Graveyard right as Bone Storm starts, so prioritize destroying these spikes quickly.
Understanding Bone Storm
- Bone Storm targets the player farthest from Lord Marrowgar when it begins. When it reaches that target, Coldflame appears, and this cycle continues until Bone Storm ends.
- To minimize raid-wide damage during Bone Storm, position raid members against each of the room's four walls. This way, you can avoid Coldflame.
- Focus on eliminating Bone Spike Graveyard while avoiding Coldflame.
- Priests can use Divine Hymn during Bone Storm to help with the high damage output. Healing in this battle can be quite challenging due to the intense damage and the need for constant movement.
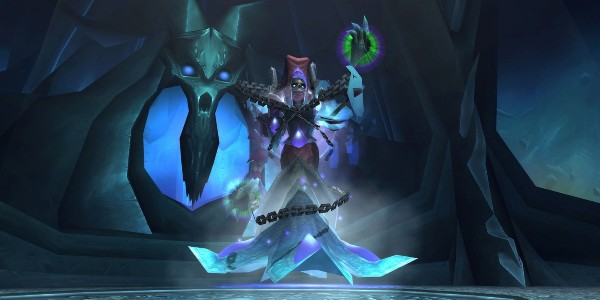
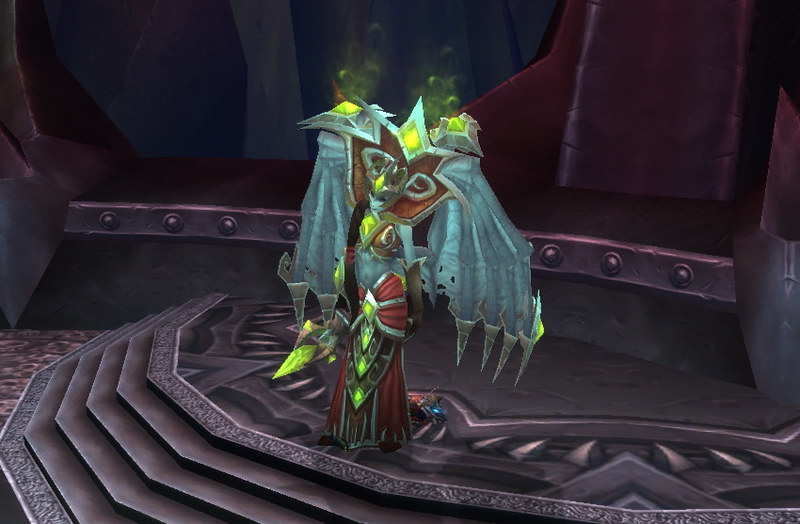
Lady Deathwhisper
HP: 26,773,027
The Strategy
There are two phases in this battle, and here's what you need to do:
Phase 1: Setting Up
- Before the fight starts, you should decide which tank will be on the left and which one on the right. Assign DPS players to be with each tank.
- Split your party into two groups: ranged DPS and melee DPS. Ranged DPS focuses on Lady Deathwhisper, while melee DPS takes care of the adds she keeps spawning.
- Once you pull her, spread out on the upper deck, and position the tank to intercept the incoming adds.
- It's a good idea for healers to stay behind and continue pointing to the platform to avoid taking damage from AoE effects.
Dealing with Adds
- Lady Deathwhisper summons a new wave of adds every 60 seconds, alternating between sides of the room.
- Melee DPS should clear one side first and then move to the other side to deal with the next set.
- Physical damage melee DPS focuses on Adherents, while magic damage melee handles the Fanatics.
- Keep an eye out for adds that explode from time to time, dealing a lot of damage.
- The first add will begin with a Whirlwind, so your tank and DPS should control it as soon as possible.
- For better DPS efficiency, have your tanks stack adds on each side so that your melee classes can use their AOE abilities to eliminate them quickly.
Avoiding Damage
- Lady Deathwhisper occasionally casts Death and Decay on a raid member, creating a large green circle on the floor. Get out of it as soon as it's cast to avoid taking damage.
- She also takes control of three of your raid members. Use crowd control tactics on anyone affected by Mind Control, such as priests, warlocks (Fear), and druids (Cyclone).
Transition to Phase 2
You'll want to transition to the second phase at the right time, ideally when Lady Deathwhisper's mana is around 5-10%, and she can't spawn more waves of adds.
Phase 2: Dealing with Vengeful Shades
- In this phase, Lady Deathwhisper summons Vengeful Shades frequently. They target a player and cast Vengeful Blast, so you need to avoid them at all costs. Keep your distance and spread out when they approach.
- Tanks return to their traditional tanking role, using their abilities to maintain aggro on Lady Deathwhisper.
- Raid members who can interrupt spell casting should focus on interrupting her Frostbolt because it deals a lot of damage.
- The phase might sound simple, but in reality, it can get messy. One or two tanks will handle the boss, and another will manage the adds that alternate from one side. Constantly switching between adds and the boss makes this phase challenging.
Gunship Battle
HP: 2,058,000
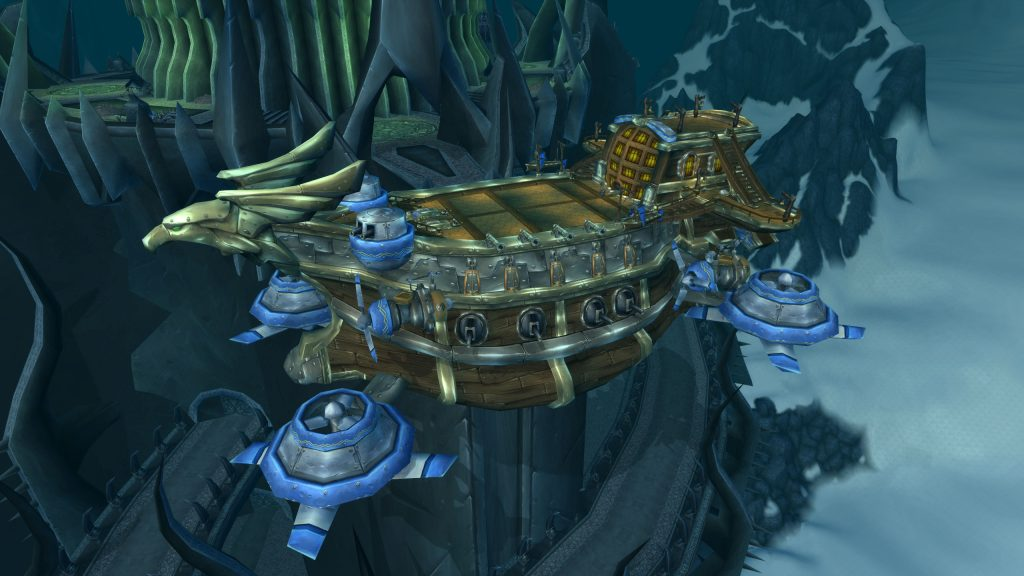
The Strategy
General Approach:
- Divide your raid into two groups: attackers and defenders.
- Send most of your players to attack the enemy gunship, leaving only cannon users and a few DPSers to defend your ship. Attackers can help with defense after dealing with specific threats.
- Defenders should focus on using cannons, and DPSers can help with both defense and attacking when needed.
Defenders (Your Faction's Ship):
- Four players should man the cannons to target the enemy ship, primarily focusing on Rocketeers or Mortars at the back. Dodge their rockets; they mark areas before firing.
- Watch out for Rocketeers and Mortars' small knockback effect.
- Be prepared for an enemy commander who deals more damage and gains a 12% damage increase with Battle Fury.
- Enemy soldiers gain power with time but shouldn't be a significant threat.
- Axe Throwers or Riflemen will shoot from a distance.
- Occasionally, a mage will freeze your cannons; defenders should deal with the mage.
- A squad of Reavers or Marines and a Sergeant will be teleported, gaining damage and attack speed over time. Ranged DPS defenders can handle them efficiently.
Attackers (Enemy Gunship):
- Tanks should engage Saurfang or Muradin to keep them away from the raid.
- Watch out for the stacking Battle Fury buff; if it gets too high, step away from the ship for about 20 seconds to let it fall off.
- Quickly eliminate the mages whenever they appear.
- After clearing threats on the enemy ship, attackers can help with defense or continue to damage the enemy gunship.
Overall:
- Coordinated teamwork is key; attackers and defenders should communicate and assist each other as needed.
- Defeat the mages quickly to ensure cannons are operational.
- Tanks should manage boss aggro and handle the stacking Battle Fury buff.
- Keep an eye on the gunship's health and adjust your strategy as needed.
Deathbringer Saurfang
HP: 43,926,752
The Strategy
Raid Positioning:
- This fight requires careful positioning. Before the fight starts, decide where everyone will stand and stick to those spots.
- Spread out into two groups, leaving enough space for only two players to get hit by Boiling Blood at the same time.
Event Start:
- Once everyone is in position and ready, you can initiate the event.
- The fight doesn't have a tight DPS check, so there's no need to rush. Take your time to react to its mechanics.
Tank Responsibilities:
- Tanks need to watch for the Rune of Blood debuff on them.
- Taunt immediately after getting the debuff for quicker Blood Power generation and to minimize the healing Saurfang receives from hitting the tank with the debuff.
Healers' Tasks:
- Healers should be assigned to specific players marked with Mark of the Fallen Champion.
- Keep an eye on players with Boiling Blood, which lasts for 15 seconds.
- Use abilities like Power Word: Shield to prevent damage and avoid Saurfang generating Blood Power.
- Pay attention to Saurfang's Blood Power bar as higher Blood Power means more damage.
- Optimize healing during high Blood Power phases.
Damage Dealers' Duties:
- Every 35 seconds, 5 Blood Beasts spawn near Saurfang. They must be killed quickly.
- Prevent the Blood Beasts from reaching your raid members to avoid the Scent of Blood debuff, which makes them deadlier.
- Use snares and knockback abilities to control the Blood Beasts' movement.
Final Phase:
- When Saurfang reaches 30% health, he goes into a frenzy, dealing much more damage.
- Use your Bloodlust or Heroism ability to finish this phase quickly.
- If your raid has followed the strategy correctly and maintains decent DPS, Saurfang should fall after 2 or 3 Mark of the Fallen Champion.
After Saurfang has been defeated, proceed inside the Citadel. Usually raiders start clearing the middle level clockwise, following the unholy wing, then the bloody wing and ending with the ice wing.
Festergut
HP: 52,293,751
The Strategy
Raid Positioning:
- Split your raid into 1 melee and 2 ranged groups, forming three concentric circles around Festergut.
- Maintain a distance of at least 10 yards between each player to avoid Malleable Goo and Vile Gas.
Tanking:
- Keep your tanks positioned in the middle of the room and make sure Festergut remains in the center during the entire fight.
- Shamans should place their totems beneath the boss to provide raid-wide buffs.
Professor Putricide's Role (Heroic Mode):
- On heroic mode, Professor Putricide joins the encounter and throws Malleable Goo at random players throughout the fight.
- If you're hit by Malleable Goo, you'll take significant damage and have your attack and casting speed reduced by 200% for 15 seconds. Avoid this at all costs.
Avoid Malleable Goo:
- Always watch the ground for green puddles indicating where Malleable Goo will land and avoid standing near them.
- Stack with the main tank for the first wave of Gas Spore to gain Inoculated debuffs, which are vital for the fight's success.
Melee Tips:
- Melee players may find it challenging to dodge Malleable Goo, as it can be hard to see.
- Try marking two positions near Festergut, such as the right and left foot of the boss, and switch between them when Malleable Goo is coming your way. This helps minimize damage and maintain your DPS.
General Objectives:
- Your main objectives are to avoid Malleable Goo, keep the tanks alive, acquire 3x Inoculated debuffs, deal as much damage as possible, and Festergut should pose no major challenge.
Rotface
HP: 47,413,000
The Strategy
Before the Fight:
- Assign players to spread out around Rotface. You need at least 8 players to stand outside a circle.
Starting the Fight:
-
Use Bloodlust or Heroism right after the fight begins since there are no oozes or green zones to worry about.
Tank Setup:
-
You'll need two tanks for this fight. One tank stays on Rotface all the time. The other tank picks up the little oozes, which appear periodically. Keep Rotface in the center of the room.
Healer Position:
- Healers should stand on the side of the boss, close to the middle, to reach all raid members. Paladins can use Divine Shield and Hand of Sacrifice to save raid members during Unstable Ooze Explosion.
Dealing with Little Oozes:
- Little oozes show up when Mutated Infection ends, and they spawn from the affected player. After the first little ooze appears, bring it close to where the second one forms to make them merge. Then, the tank can handle the big ooze.
Ooze Explosion:
- The big ooze will explode when five little oozes merge. Healers need to watch for this and keep everyone alive. The Off-Tank should keep the big ooze away from the rest of the raid.
Handling Ooze Flood:
- Stay out of the green Ooze Flood areas on the floor. If you get caught, it'll slow you down. When crossing through it, a Paladin can use Hand of Freedom to avoid being slowed.
Avoiding Slime Spray:
- Watch for Rotface turning his head, and run away immediately to avoid Slime Spray. It's pretty clear when he's about to use this ability.
Explosions and Grenades:
- Be mindful of the big oozes' explosions and avoid the small ooze grenades. Keep an eye out for safe spots during explosions.
Vile Gas Management:
- If Vile Gas is about to be cast, don't rush back into melee range. Keep your distance and wait to see who the Vile Gas target is to prevent it from reaching melee players.
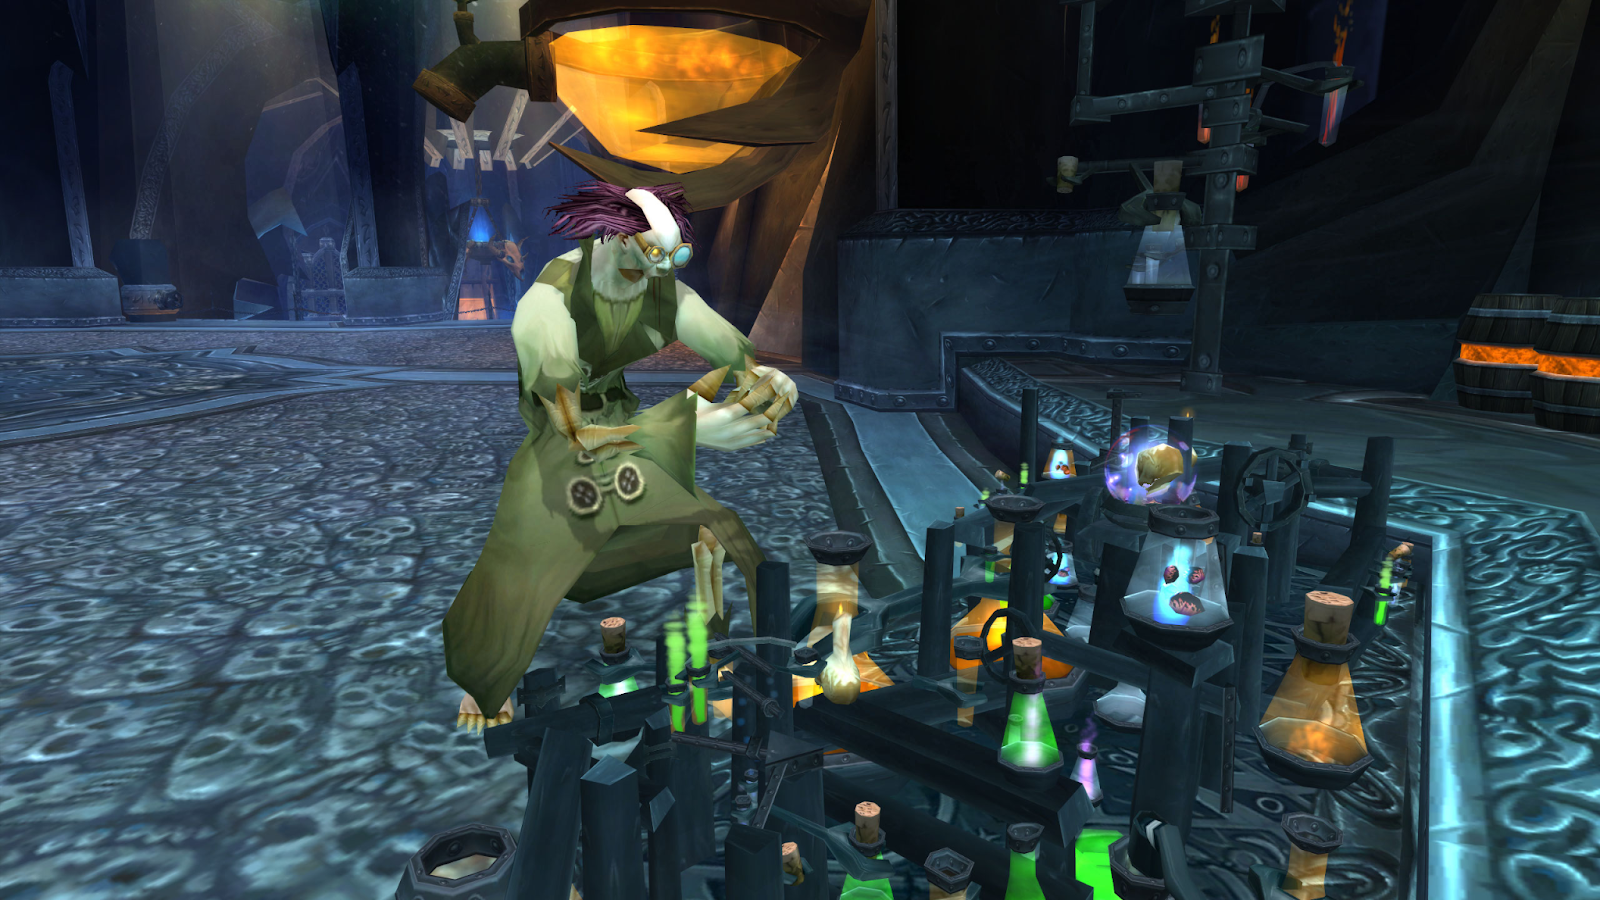
Professor Putricide
HP: 50,200,000
The Strategy
Phase 1 (100% to 80%):
- Split your raid into three groups: two ranged and healer groups and one melee group.
- If the Unbound Plague disease initially hits a melee player, it may jump between them quickly. They should quickly spread out to prevent dangerous damage scaling. Once it's on a non-melee player, pass it to others, but don't hold it for too long.
- Time the phase transition carefully to avoid extra oozes.
- Slow the green ooze more than the orange one for a safer transition.
Phase 2 (80% to 35%):
- Avoid Choking Gas Bombs and their explosions. Melees should be cautious when dodging Malleable Goo to avoid the disease.
- Tank should manage Choking Gas Bomb placement to protect melees.
- Carefully time the phase transition, slow and kill oozes, and watch out for Choking Gas Bombs.
Phase 3 (35% to 0%):
- Stay properly positioned to avoid green pools and Choking Gas Bombs.
- Tanks should taunt off each other to minimize damage from Mutated Strength.
- Prioritize keeping tanks alive, even if some raid members die in the last phase.
- Use Bloodlust/Heroism after positioning is set for maximum damage.
- Consider letting a player with the disease die and resurrecting them to simplify the encounter.
Blood Prince Council
HP: 30,497,000 (health is shared)
The Strategy
Positioning:
- Divide your raid into two sides to ensure everyone has enough room.
- Melees should be on the upper platform.
- Assign specific positions for melees to move to during Valanar's Shock Vortex.
- Ensure there's space for hunters and warlocks to handle Kinetic Bombs.
Prince Valanar:
- When Valanar is empowered, he uses Empowered Shock Vortex, affecting all players and causing explosions that throw people around. To avoid this, make sure players are about 10 yards apart.
- Valanar also casts single Shock Vortex when not empowered, which is easy to avoid.
Prince Taldaram:
- When Taldaram is empowered, players should be either in melee range or far away from him.
- Melees should run with Flame Sphere a bit to reduce its effect.
- Players targeted by Flame Sphere need to run away quickly to minimize the damage.
Prince Keleseth:
- When Keleseth is active, the main concern is maintaining threat because the tank spends a lot of time gathering Dark Nucleus.
- Damage any Dark Nucleus to make them emit a dark beam, which reduces the tank's shadow damage taken.
- Ensure the tank has at least three Dark Nucleus on them to manage the damage effectively.
- Holy Paladins can place their Beacon of Light on Keleseth's tank for better healing range.
- When Keleseth is the second active prince, use external cooldowns like Pain Suppression and Hand of Sacrifice to keep the tank alive, as they may not have enough Dark Nucleus yet.
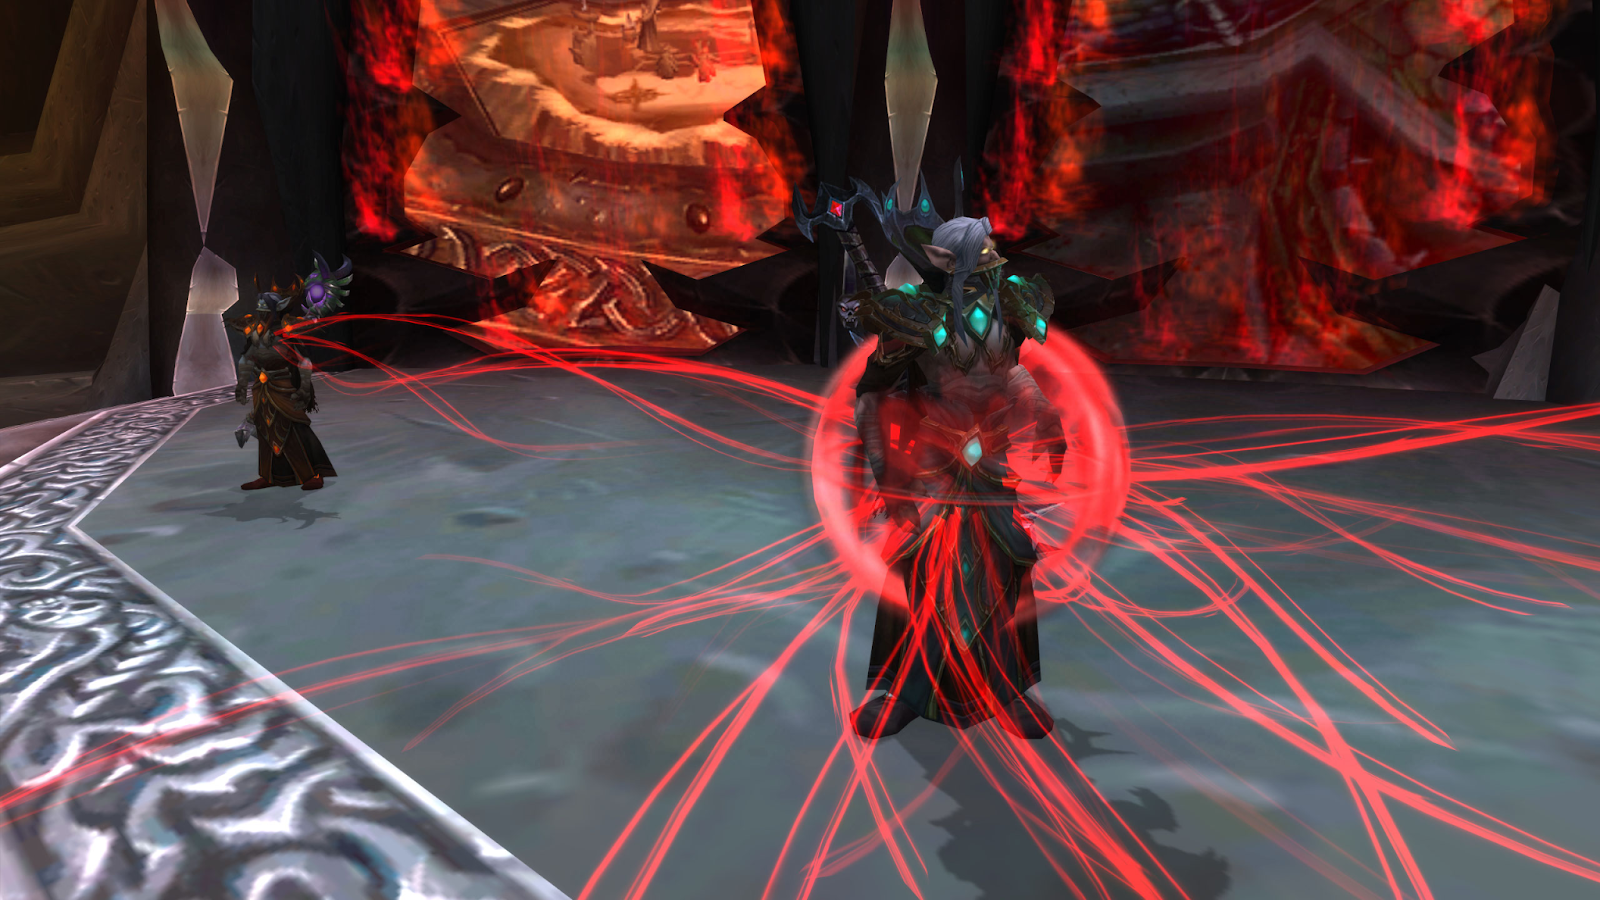
Blood Queen Lana'thel
HP: 71,300,000
The Strategy
Before the Fight:
- Plan out a bite sequence (who bites who) and assign positions for the raid members.
- Position healers on the edge of the inner circle to ensure they can reach everyone.
- Have ranged DPS players spread out on both the left and right sides.
- Choose your top 4 DPS players, with the first player (often a hunter) being the first to get bitten.
- Remember that each raid member can only be bitten once.
Engaging the Boss:
- Tank the Blood Queen in a central position for easy raid spreading.
- Be cautious of Blood Mirror. Healers need to heal through this ability since it can make a squishy raid member take as much damage as the tank.
During the Fight:
- When affected by Swarming Shadows, move to the outer edges of the room and leave the purple flames behind to avoid taking damage.
- For Pact of the Darkfallen, find the linked raid members (connected by a red line) and run together to remove the debuff.
- Spread out to avoid taking damage from Twilight Bloodbolt.
- In the air phase, watch out for Bloodbolt Whirl. Stay spread to avoid taking splash damage from other players' Bloodbolt Whirl.
- Be prepared for an AoE Fear at the start of the air phase.
- Use defensive abilities and healing cooldowns during this phase.
- Remember the bite rotation and aim to avoid deaths in the air phase.
- If you manage all of this, you can defeat Blood Queen Lana'thel.
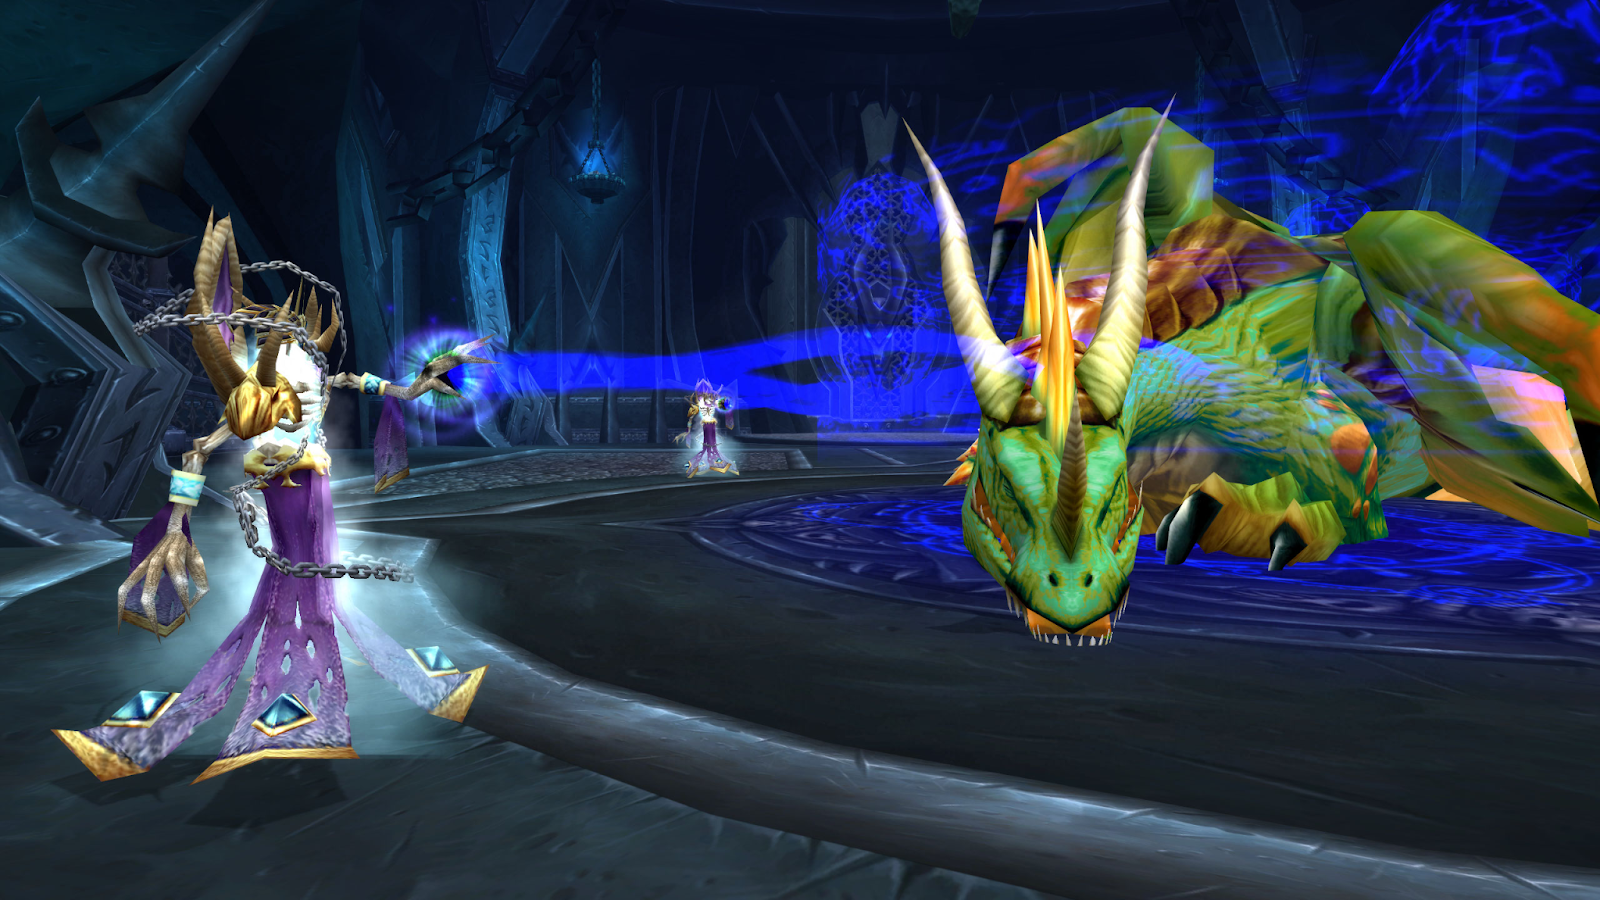
Valithria Dreamwalker
HP: 17,999,999 - 35,999,999
The Strategy
In the Valithria Dreamwalker encounter, your main goal is to heal her from 50% to 100% while dealing with waves of Scourge enemies that try to stop you. This is a healer-focused fight, with DPS playing a supporting role.
Assign Healers:
- Have your healers, particularly Holy Paladins, initially focus on healing Valithria.
- Assign two healers to pick up raid members as the fight progresses.
Raid Damage:
- The raid will take increasing damage as the battle goes on.
- Healers need to keep everyone alive, so make sure you have strong healing coordination.
Healer Strategy:
- Set up healer spawn points near the Portals.
- Plan how they'll move around to collect the Twisted Nightmares stacks.
- It's essential not to let the buff fade.
Twisted Nightmares:
- Healers should work in groups to collect these stacks efficiently. Keep an eye on your buff's duration because it damages you in Heroic mode.
- Heal yourself or get healed if necessary.
DPS Priority:
- DPS players need to stay alert. Focus on Blazing Skeletons to prevent their Lay Waste ability.
- Control Suppressors in small groups and slow them down.
Risen Archmages:
- Interrupt their dangerous abilities, like Column of Frost and Frostbolt Volley. Priests can use Mass Dispel to help the raid.
Blistering Zombies:
- Watch out for their Acid Burst when killed.
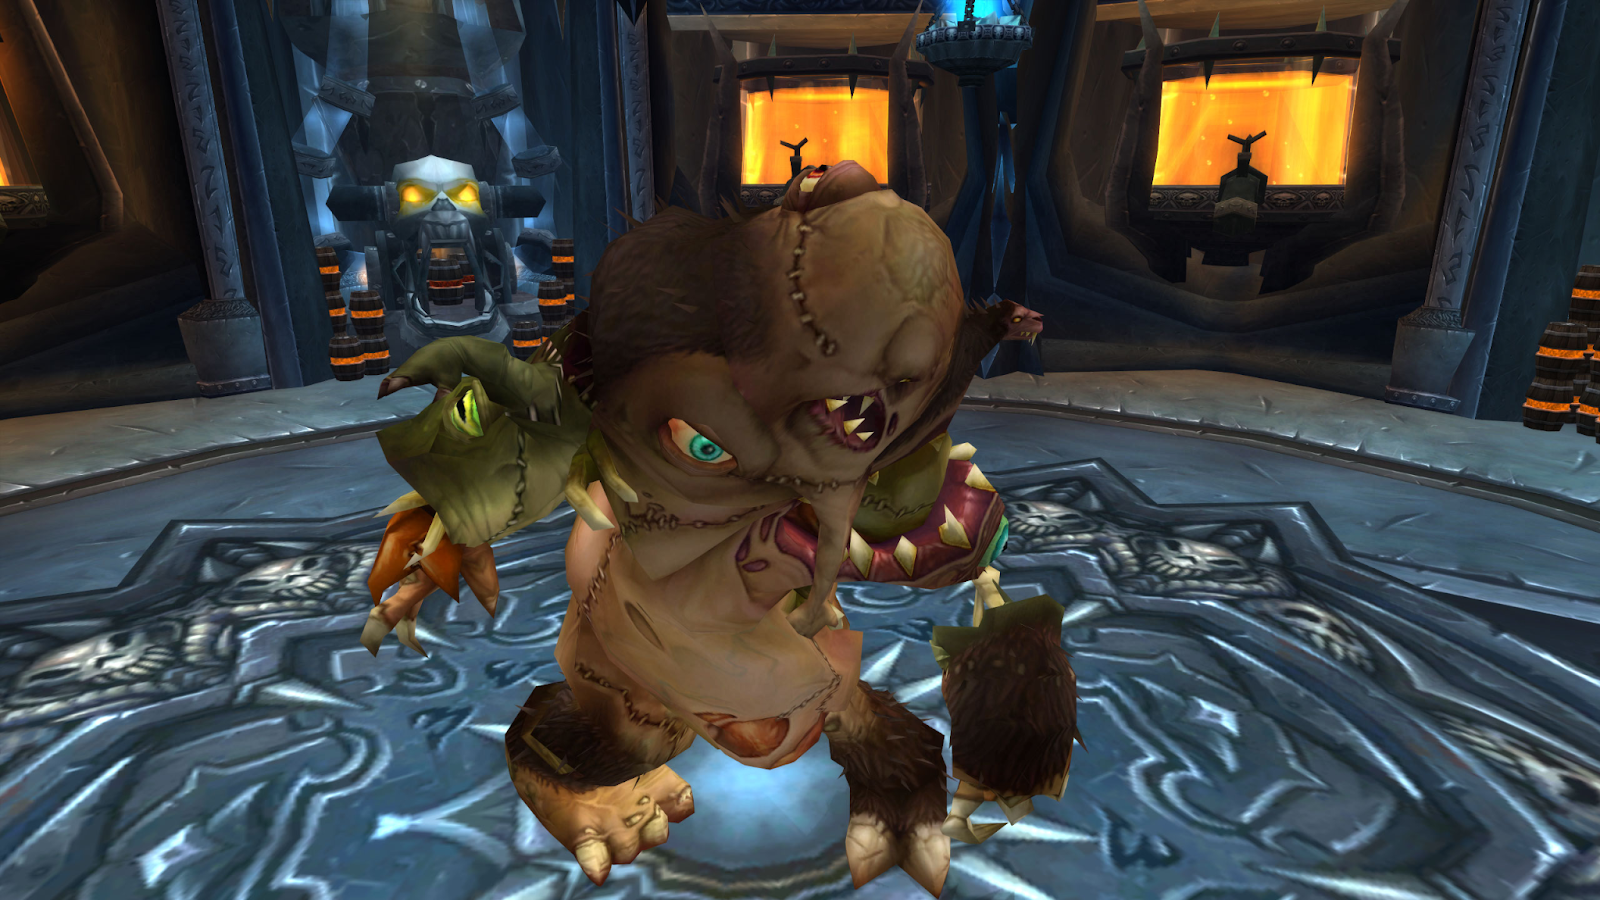
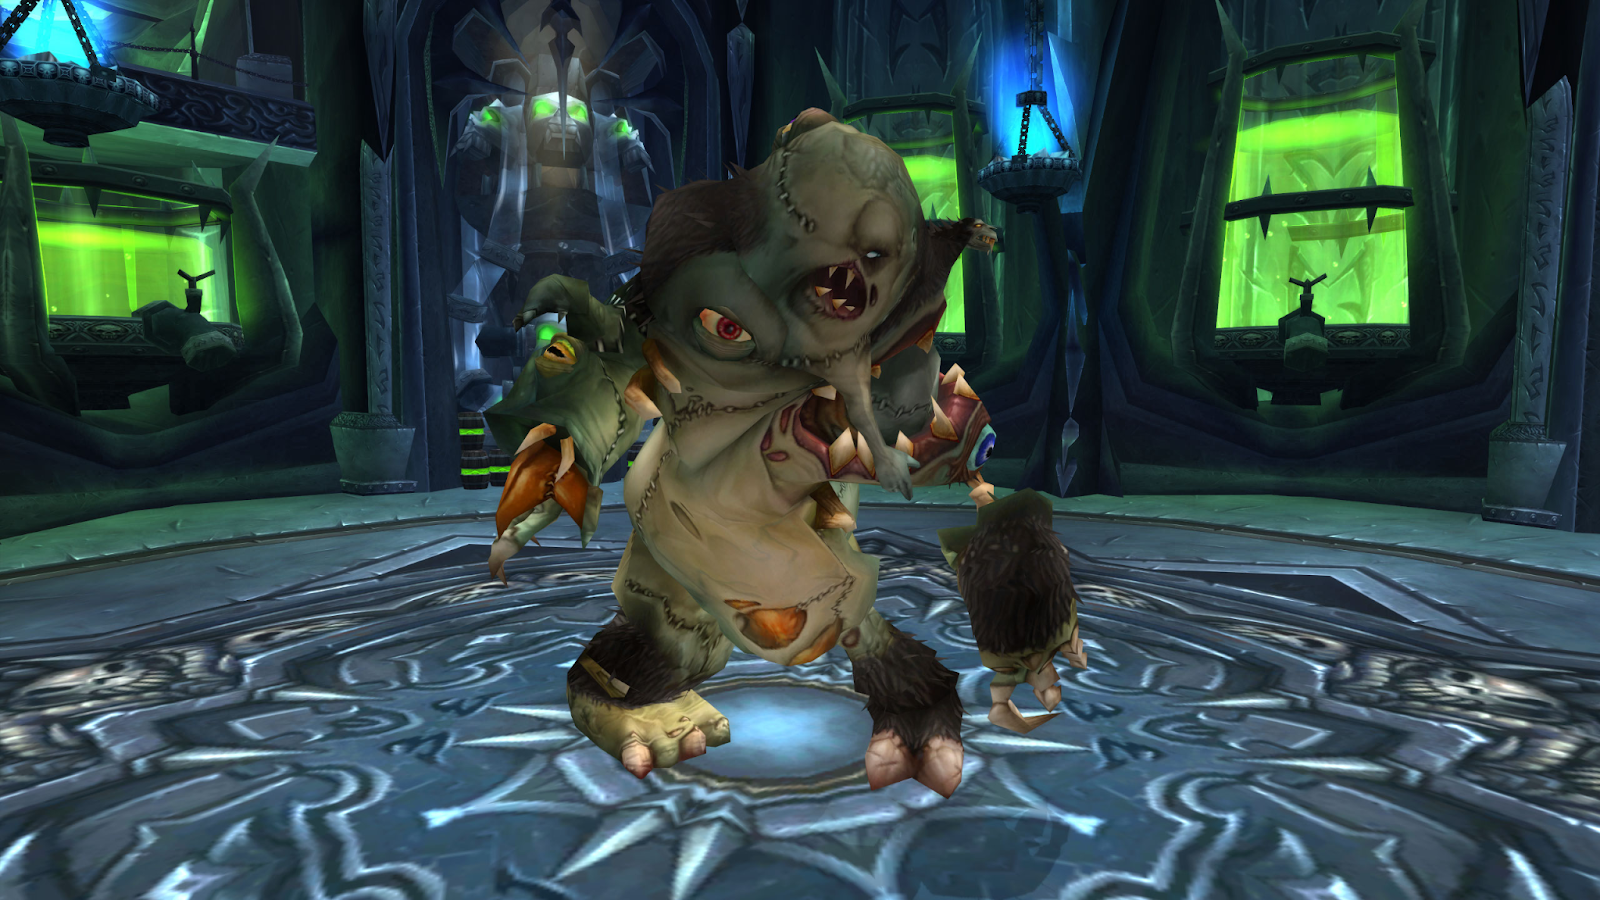
Gluttonous Abominations:
- These have lots of health and spawn Rot Worms when killed. Kill the Rot Worms immediately as they deal high melee damage.
Positioning:
- Split your melee and ranged DPS on both sides from the beginning of the fight to handle various threats effectively.
Sindragosa
HP: 46,000,000

The Strategy
Phase 1 (100% to 35%):
- When the fight starts, give the tank a moment to establish aggro. The tank should keep Sindragosa turned away from the raid.
- Everyone, including DPS and healers, should stand on Sindragosa's side to avoid Tail Smash and Frost Breath.
- Watch for Blistering Cold, Sindragosa's powerful Frost attack, and be prepared to move away when she casts Icy Grip.
- While attacking, be cautious of accumulating stacks from the Penetrating Cold debuff. Don't let your stack count go above 8 or 9 to ease the healers' burden.
- If Sindragosa targets you with Unchained Magic, stop casting to avoid a potential explosion that can harm you and those nearby.
- When Sindragosa takes flight, she will mark six players with Frost Beacon. Note these players, as they will be encased in Ice Tombs next. The rest of the raid should quickly destroy the Ice Tombs to free those inside, but don't kill them too fast, as you'll need the Ice Tombs for cover against Frost Bomb.
Phase 2 (35% to 0%):
- In this phase, Sindragosa adds a new ability called Mystic Buffet, which amplifies magic damage. Watch your stack count; don't let it go above 5 or 6, and avoid casting when you have Unchained Magic.
- Tanks should use their defensive abilities, and healers should be ready to use Pain Suppression and Hand of Sacrifice.
- While Sindragosa no longer takes to the air, she continues to cast Frost Beacon on players. These players should place Ice Tombs behind the raid to serve as a shield.
- The raid should stay behind these Ice Tombs to avoid Mystic Buffet.
- The second phase is a repetition of these movements until you defeat the boss. Sindragosa will cast Frost Beacon, and players will place Ice Tombs alternately on the left and right sides while the raid stands behind them to deal with Mystic Buffet.
- Remember that this phase is not a race to see who can deal the most damage. If everyone follows the tactics and their roles correctly, the boss will go down without major issues. The Sindragosa encounter is more about coordination and execution than overwhelming difficulty.
Lich King
HP: 103,900,000
The Strategy
Phase 1 (100% to 70%):
- Start by positioning the Main Tank on the middle-edge of the platform, close to the throne where the Lich King starts the fight.
- The Off-Tank stands on the left or right side of the Main Tank, nearer to the edge.
- DPSers and Healers should be slightly in front of the Main Tank, forming a line on the inner circle.
- Off-Tank's role is to handle Shambling Horrors, always keeping them facing away from the raid.
- Both tanks should move parallel to avoid Shadow Trap.
- When Necrotic Plague is cast on a raid member, they should move behind a Shambling Horror to be dispelled, and then return to their initial position.
- Main Tank takes on the Lich King and some of the Drudge Ghouls.
- Off-Tank can taunt additional Drudge Ghouls from the Main Tank to stack Necrotic Plague.
- When the mobs drop below 20% health, they go into a Frenzy, so they must be killed quickly.
- During the Frenzy, Off-Tank uses survival abilities.
- Healers must focus on Infest to remove it quickly.
- The discipline priest can use Power Word: Shield.
- At 70% HP, Lich King goes to the middle of the platform and casts Remorseless Winter, signaling the start of the Transition Phase.
Phase 1.5 (Transition Phase):
- The raid should spread out to minimize damage from Pain and Suffering, which can stack up to 5 times.
- Range DPSers should focus on killing Ice Spheres to prevent them from knocking players off the platform.
- Main Tank should handle Raging Spirits that the Lich King summons, keeping them away from the raid.
- Healers need to heal through the damage from Raging Spirits.
- At the end of the Transition Phase, the raid should leave the "mobile" platform and return to the main platform.
Phase 2 (70% to 40%):
- One tank needs to tank the Lich King in the middle.
- If Raging Spirits from the Transition Phase are still alive, a second tank should take them a bit away from the first tank.
- The Main Tank should use survival cooldowns and avoid Soul Reaper.
- The raid should stand in one spot for Val’kyr Shadowguard's appearance.
- All stuns should be used to keep Val’kyr Shadowguard together for cleaves.
- The raid must move Defile away from the group to minimize its impact.
- Healers should continue to heal both tanks and deal with Infest.
- At 40% HP, Lich King moves to the center of the platform and casts Remorseless Winter, signaling the beginning of a new Transition Phase.
Phase 2.5 (Transition):
- Similar to the first Transition Phase but without Shambling Horrors and Drudge Ghouls.
- Both tanks should help each other with Raging Spirits.
- At the end of this phase, the raid should leave the "mobile" platform and return to the main platform.
Phase 3 (40% to 10%):
- In this phase, the raid should focus on killing any remaining Raging Spirits.
- During the Harvest Soul cast, everyone should ensure they have sufficient health to survive.
- In the Frostmourne room, the raid should stand together in the middle, avoiding bombs.
- After returning from the Frostmourne room, the raid must move away from Defile and then stack near the edge.
- Hunters place Frost Traps for absorbing Vile Spirits, and a soaker tank absorbs them.
- The raid should maintain a formation and move so that the spirits approach from one direction for easy absorption.
- When Lich King casts Defile on the raid, the player should take it behind the raid while others move closer to the boss.
- The raid must focus on defeating Vile Spirits and continue to handle Defile.
In the final phase, keep the raid focused and maintain the formation to defeat the Lich King.
Raid tactics in difficulty mode differ slightly from normal difficulty with additional nuances to watch out for. Also, all bosses will have increased health and damage. We realize that following all the tactics, especially in Hardmode will require a significant amount of time to learn, as well as a substantial amount of luck to ensure that all the players in the raid know their responsibilities thoroughly.
What loot to look out for
Icecrown Citadel has a lot of loot, the quality of which increases as the difficulty of the raid increases. However, it's worth noting that in this raid, in addition to the usual items, you can also get the Emblem of Frost, which can be traded for purple-grade loot, the Mark of Sanctification, which can be traded for T-10 items, and Primordial Saronite, which is a crafting reagent that allows you to create level 264 items and is also one of the items needed to create legendary weapons
It will be important for mount collectors to be reminded that from the Lich King himself falls his legendary steed called Invincible. It falls in H-25 difficulty. The Invincible isn’t just some stylish undead horse because it can also fly at 310% speed and it is unparalleled when it comes to capturing the attention of others.
Legendary weapons? Oh yes! Warriors, paladins, and death knights can partake in the creation of the legendary level 284 Shadowmourne, which is a twin to the infamous Lich King's Frostmourne.
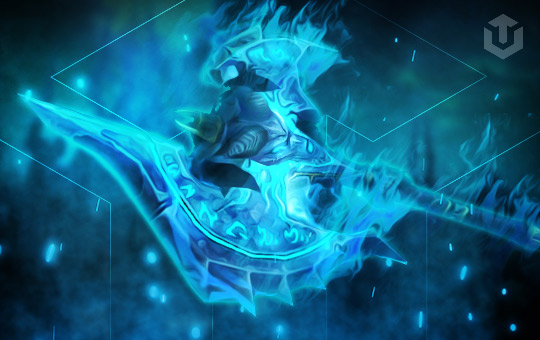
The questline associated with this weapon will require the player to invest time and effort in collecting items, and the final quests will pose a significant challenge for an unprepared raid

As the last major raid of the WotLK expansion, Icecrown Citadel offers players many challenging bosses with a plethora of rewarding loot. It's no wonder that this raid is considered one of the hardest in the game and only a few groups will be able to complete it entirely. But we have a solution that will allow you to overcome all the difficulties in the raid without hassle and tedious waiting.
Easy Way to Beat Icecrown Citadel Bosses
Want to successfully complete a raid on max difficulty and get all the goodies? Well, in this case we offer you ICC walkthrough services, our experts will make you a perfect balanced raid and defeat all the bosses with ease. In addition, we can help you with getting Invincible reins. And for the most demanding Death Knights, Warriors or Paladins, we can also fully assist you with the Shadowmourne quest. If you are interested, follow the section at this link.
Conclusion
Icecrown Citadel is the final major raid in the WotLK expansion and is unquestionably one of the finest raids in World of Warcraft's history. Whether you venture into it solo or seek assistance from our experts, this is an experience that will leave an indelible mark on your memory.
Starts at
$54

Starts at
$129

Starts at
$4

Starts at
$114$148

$1.2
$1.69

Starts at
$5
Starts at
$5
Starts at
$7
Starts at
$14

Starts at
$6
Starts at
$2 610
Core Principles
Why Choose Us?
We are constantly improving our services to deliver mind-blowing experiences to our customers for every order, every day
Rated 5 Stars
On REVIEWS.io
Check out our reviews on REVIEWS.io, an independent reviews platform. All reviews are genuine and published in real time.
Read customer reviews
We will contact you and start working on your order within 7 minutes

Every manager, even the owner, has successfully personally completed over 300 orders

P.S. We'd better miss a $10,000 sale, than risk your account